Getting CHAT.devad.io up and running on your site is designed to be flexible, regardless of your technical setup. Whether you are running a WordPress site, a custom-coded application, or managing your scripts through third-party tools, there is an integration method that fits your workflow.
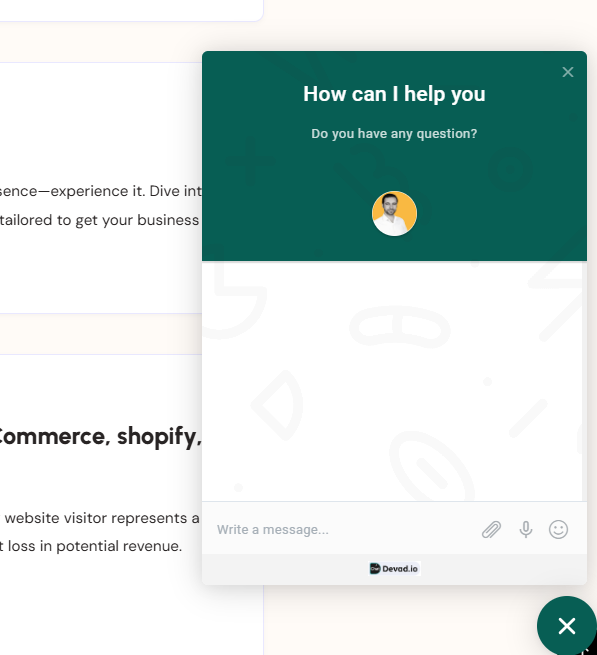
Live CHAT Widget example
Choose the method below that best suits your environment:
WordPress Plugin: The recommended choice for WordPress users. This dedicated plugin allows for deep integration, offering features like automatic user syncing, multisite routing, and visibility control based on page IDs or post types.
Any Website (Manual Setup): A universal solution for non-WordPress sites or developers who prefer full control. This involves adding a simple Javascript snippet directly to your site’s HTML or theme files.
Tag Manager & Cloudflare: Ideal for marketers and performance optimization. Use Google Tag Manager to sync with other tracking tools, or utilize Cloudflare Zaraz for the cleanest, fastest installation without touching your website’s code.
Select the tab below that matches your preferred installation method to get started.
Step 1: Installation & Setup
Follow these steps to get the CHAT.devad.io plugin running on your WordPress site.
Download: Get the latest version of the plugin from here
Upload: Log in to your WordPress Admin. Go to Plugins > Add New > Upload Plugin. Choose the file named CHAT-devad-io.zip and click Install Now.
Activate: Once the upload is finished, click the Activate button.
Locate Settings: After activation, a new menu item named CHAT.devad.io will appear in your sidebar. You can also find the settings page directly at :yourwebsite.com/wp-admin/options-general.php?page=CHAT-devad-io
Go Live: By default, the chat is automatically shown on all pages of your site once configured.
Step 2: Finding Your Chat ID & Configuring Settings
To connect your specific account to your WordPress site, you need to link it using your unique ID.
In the script code provided, look for the numbers at the end of the URL.Example: In <script id="chat-init" src="...js?id=55747"></script>, your ID is 55747.
Copy that ID and Paste it into the Chat ID field in your WordPress plugin settings, then click Save.
Understanding the Plugin Settings
Once you’ve entered your ID, you can fine-tune how the chat behaves:
Setting
What it does
Visibility
Choose specific Page IDs or Post Type slugs (like “product” or “blog”) where the chat should (or shouldn’t) appear.
Multisite Routing
For WordPress Networks. It automatically sends chats to specific departments that match your Site ID.
Sync WP Users
Automatically identifies logged-in WordPress users so they don’t have to type their name/email into the chat.
Force Language
Manually sets the chat language (e.g., “en” or “fr”) to override automatic detection.
Feedback Notices
Options like Rate it now or Dismiss allow you to manage the plugin’s feedback notifications in your dashboard.
If you prefer not to use the dedicated WordPress plugin, you can install the chat manually by adding the script snippet directly to your website’s code. This is often called the “Manual” or “Javascript” installation.
Here are the three most common ways to do it, depending on your setup: Method 1: Using a “Headers and Footers” Plugin
This is the most common way for WordPress users. It ensures your chat stays active even if you change your theme.
Install a plugin like WPCode.
Go to Code Snippets > Header & Footer.
Paste the snippet into the Footer box:HTML<script id="chat-init" src="https://chat.devad.io/account/js/init.js?id=5357647"></script>
Hit Save.
Method 2: Manual HTML Installation
Use this if you are not using WordPress or prefer to edit your theme files directly.
Open your site’s main template file (e.g., footer.php, index.html, or theme.liquid).
Locate the closing </body> tag at the bottom.
Paste the code directly above it:HTML<script id="chat-init" src="https://chat.devad.io/account/js/init.js?id=5357647"></script>
Save and refresh your site.
Pro Tip: Testing the Installation
After using any of these methods, the chat should appear in the bottom right corner. If you don’t see it:
Check Incognito: Browser extensions (like AdBlockers) can sometimes hide chat widgets, so always test in a private window.
Clear your Cloudflare Cache: Go to Caching > Configuration > Purge Everything.
Method 1: Google Tag Manager (Best for Marketers) If you already use GTM, this keeps your chat widget synced with your other tracking tools.
Open your Google Tag Manager container.
Click Tags > New.
Click Tag Configuration and select Custom HTML.
Paste your snippet into the box:
HTML
Click Triggering and select Initialization – All Pages (this ensures the chat is ready as soon as the site starts loading).
Give the tag a name (e.g., “CHAT.devad.io Widget”), click Save, and then click Submit to publish your changes.
Method 3: Cloudflare Zaraz (Best for Speed)
If your site uses Cloudflare, this is the cleanest way to install the chat without touching your website’s code at all.
Log in to your Cloudflare Dashboard
On the left sidebar, click Tag Setup (Zaraz has been moved here).
Click Add Tool and select Custom HTML.
Give it a name like Chat and click Continue.
In the Settings box, find the HTML Code field and paste your script:HTML<script id="chat-init" src="https://chat.devad.io/account/js/init.js?id=532247"></script>
Under Triggers, ensure it is set to All Pages (or create a custom trigger if you only want it on specific sections).
Click Save.
Chat widget not displaying?
The chat may not be showing due to the following reasons.
You may not see the chat because you have disabled it in the settings area. To fix this, visit the settings section and deselect all options related to that: Chat > Manual initialization, Chat > Login initialization, Chat > Hide chat outside of office hours, WordPress > Manual initialization.
Try disabling any performance plugins or techniques like cache or JS minification on your website as they might be causing problems. Once disabled, check again.
Try disabling any CDN or Proxy (e.g. CloudFlare). Once disabled, check again.
FAQs & Troubleshooting
Q: Why is my chat widget not displaying on my website? A: Possible reasons include disabled chat in settings, performance plugins interfering, CDN or proxy issues, testing while logged in as admin, or accessing the chat from a different domain or subdomain.
Q: How can I fix the chat not showing because it’s disabled in settings? A: Visit the settings section and deselect all related options such as Chat > Manual initialization, Chat > Login initialization, Chat > Hide chat outside of office hours.
Q: Could caching or JavaScript minification cause chat widget issues? A: Yes, try disabling any performance plugins or techniques like cache or JS minification and then check again.
Q: What if I use a CDN or proxy like CloudFlare? A: Try disabling the CDN or proxy temporarily and check if the chat widget appears.
Q: Why can’t I see or test the chat while logged into the admin area? A: You cannot see the chat as a user if you’re logged into the admin area. Log out from your admin account or use a private/incognito browser window. You can also execute SBF.reset() in the browser console for a forced logout.
Q: Does the domain or subdomain I use for testing affect the chat? A: Yes, accessing the chat from a different domain or subdomain than the one where it’s installed can prevent the chat widget from showing.
Q: What if disabling plugins and CDN does not resolve the issue? A: Double-check chat settings to ensure it is enabled, and verify domain matching and user login status.
Q: How do performance plugins affect the chat widget? A: Some caching or JS minification plugins may interfere with the chat’s loading and functionality, causing it to not display properly.
Q: Can I test the chat widget without logging out? A: Yes, use another browser window in private or incognito mode to simulate a user experience.
Q: Where can I find more detailed troubleshooting steps? A: read carefully this document and double check your settings, if all failed please contact us
Ready to upgrade your entire business workflow? Visit offers.devad.io for special pricing on bundled packages of our essential marketing and business apps.